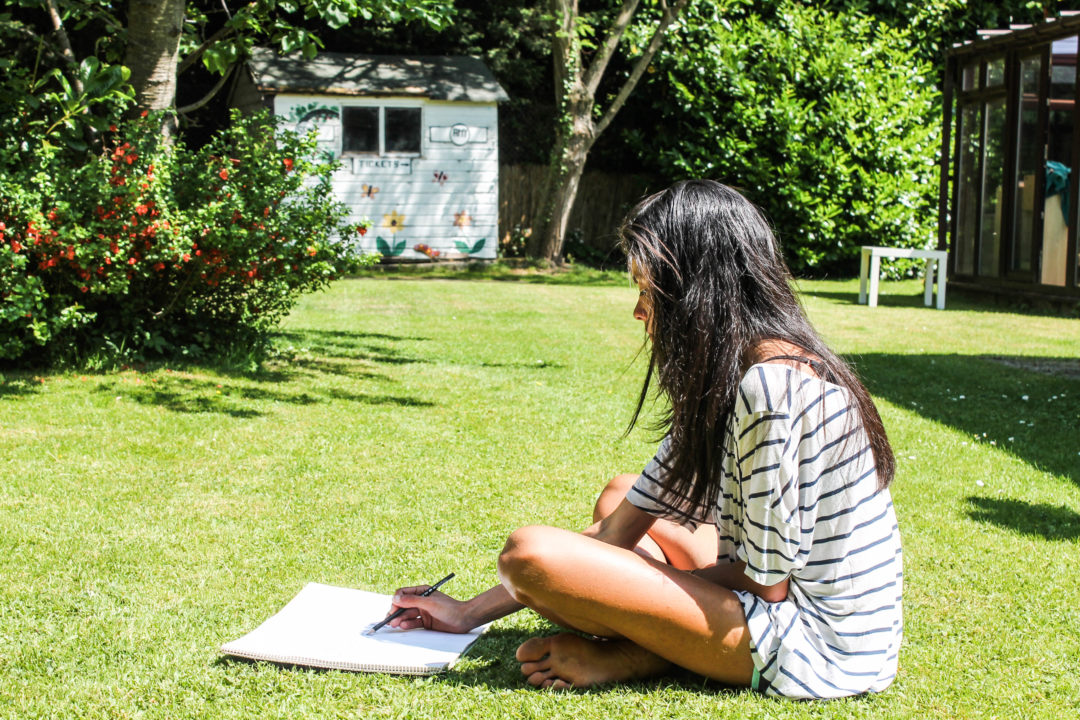
I’ve been obsessed with drawing horses since I was small. I found one of my old sketchbooks the other day and its filled with attempts of horses and ponies of all sizes, especially Shetlands since they were my favourite back then. Horses don’t make easy subjects; its hard to get their proportions right and I always struggle with their eyes. The weather of late inspired me to get outside with my sketch book and give the challenge of drawing horses another go- I figured a blackbird soundtrack and being able to spread myself out on the freshly mowed lawn would help the creative process.
I decided to make this sketch into a watercolour. This is so easy to do, and the effect is beautiful. It is a great technique to use to finish any sketch, but works especially well with landscape and countryside drawings. This post will talk you through drawing horses and making your sketch into a lovely watercolour picture.
This is the photo I worked from:
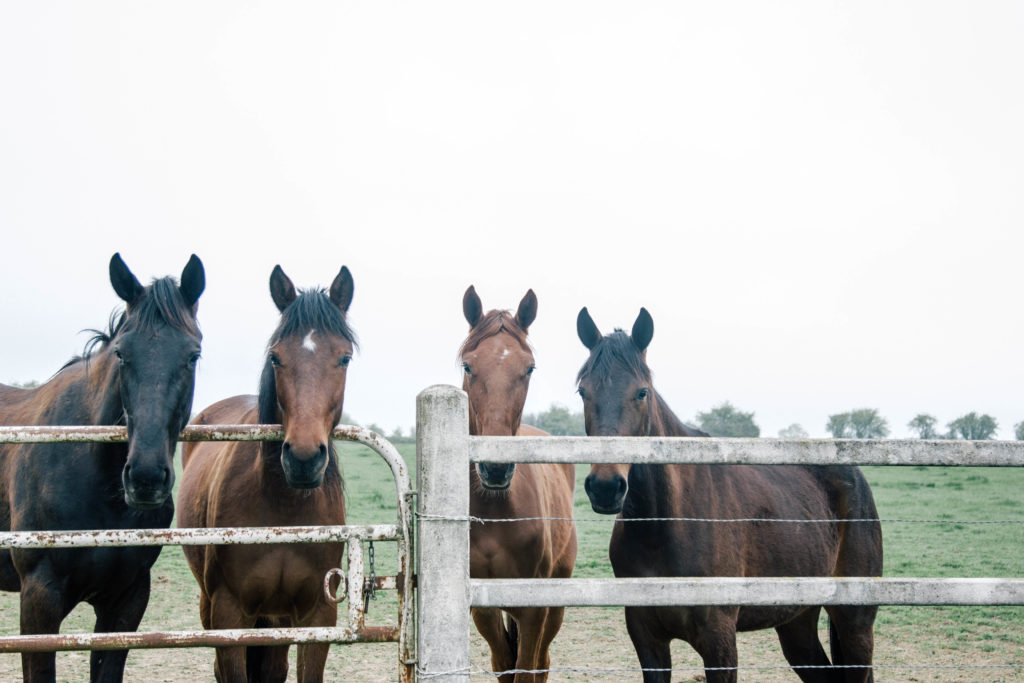 As you can see I’ve moved on from Shetlands to Thoroughbreds. This was taken by Maya when we were in Normandy recently. Its such an incredible photo- I couldn’t have asked these four to pose any better! Plus the colours are perfect for a watercolour; the slate-grey sky and lush green meadow provide the perfect background for the rich coats of the horses.
You will need:
- Sketch pencils- 2B is ideal
- A piece of thick paper, preferably from a sketch book (normal paper won’t absorb the water properly). A3 sized is best.
- Colour pencils that can be used for water colour painting (it should specify this, I use Faber-Castell).
- A thin paintbrush
- A glass of water
- An eraser
- A black brush pen
- Birdsong (if possible) or other playlist of your choice
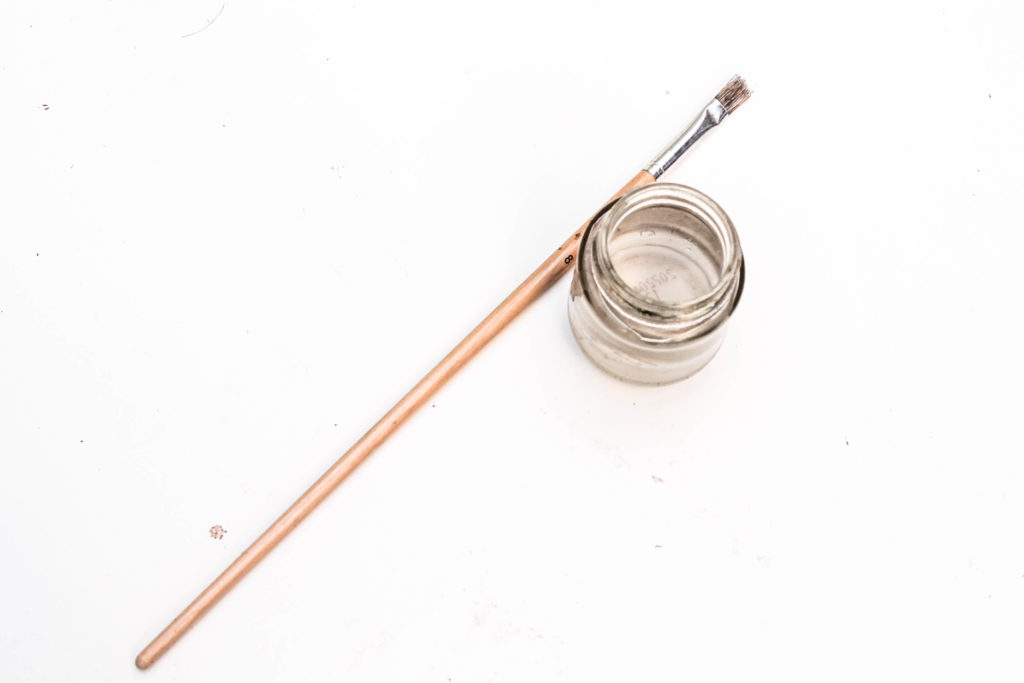 Step 1:
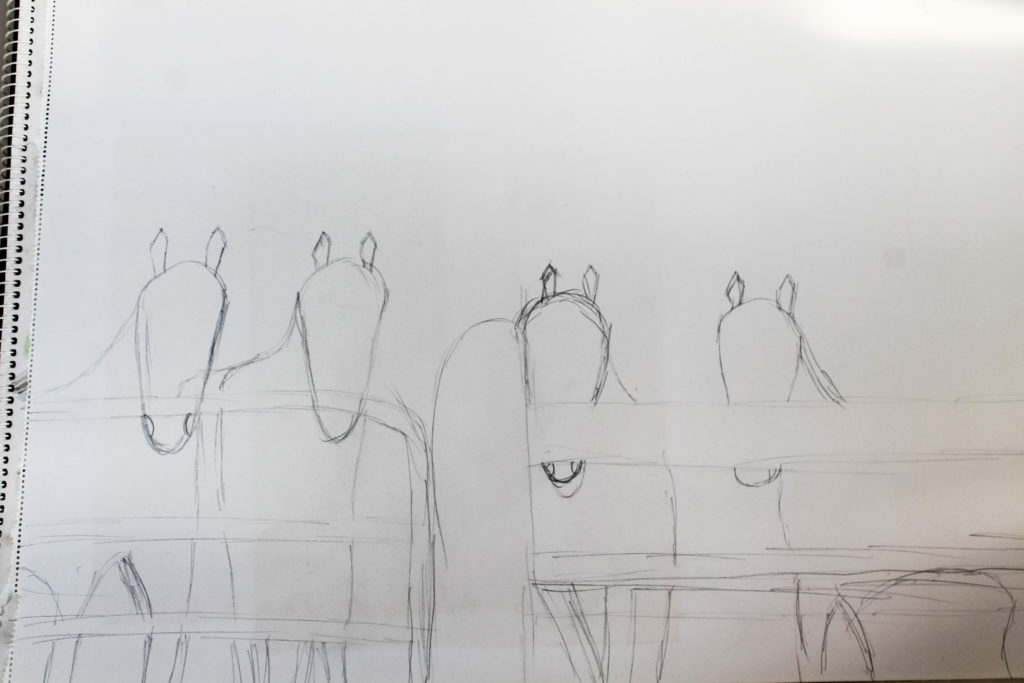
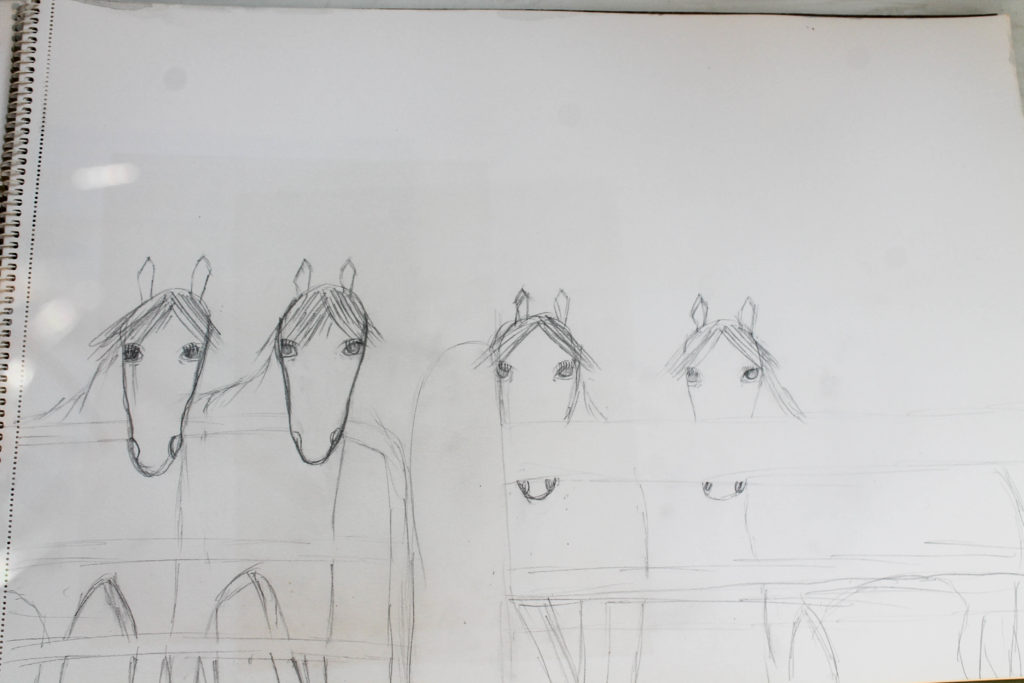
Start with getting down the rough outlines of the horses on to the paper, as well as the fence posts. Don’t worry about the details yet.
 Step 2:
The eyes- the hardest part of horse drawing in my opinion. I’m definitely not an expert here, but just remember not to make them too big, too high up or too ovular- those are the most common mistakes. And don’t forget the eye lashes! This site has some useful tips if you need some more help.
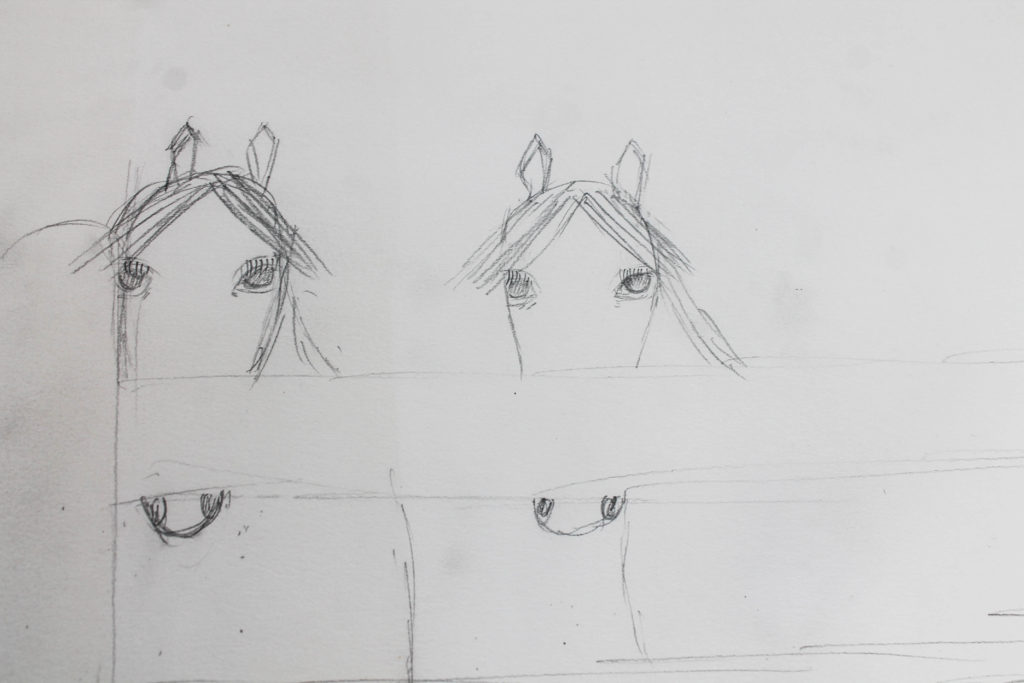 Also add the manes, tails and fringes and any other details you might not have added yet.
 Step 3:
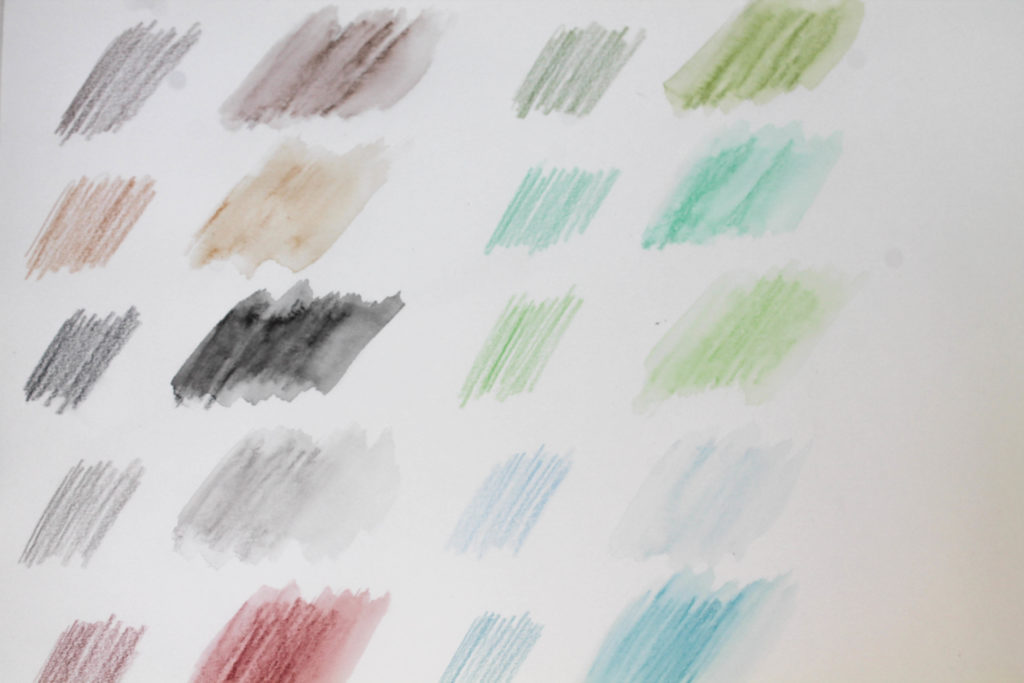
Its worth experimenting with different colours on a separate paper first, because the colours can look quite different once water is used on them. That way you can decide exactly what shades and tones work for your picture. I chose chocolate brown, a honey brown, grey, powder blue, lime green, emerald green, fern green and black. You can see the original colours on the left and how they look once wet on the right in this photo:
 Step 4:
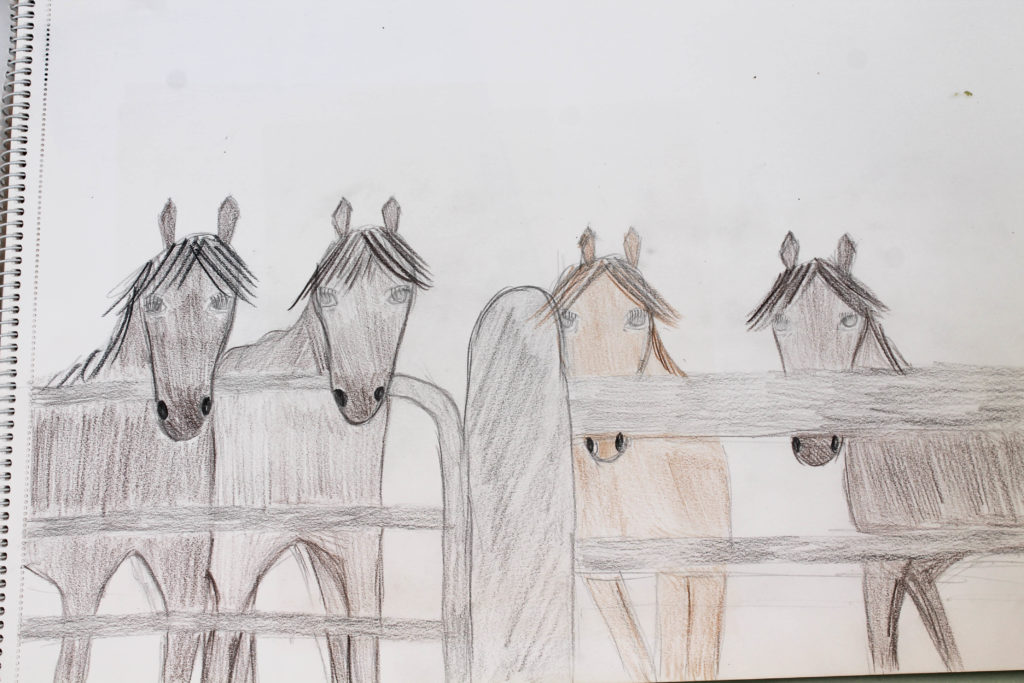
Once you have chosen the colours you want to use, shade in the foreground, using the different shades of brown for the horses and the grey for the fence posts. You need to shade quite dark to make the colour come through strongly when water is used later, so keep that in mind.
 Step 5:
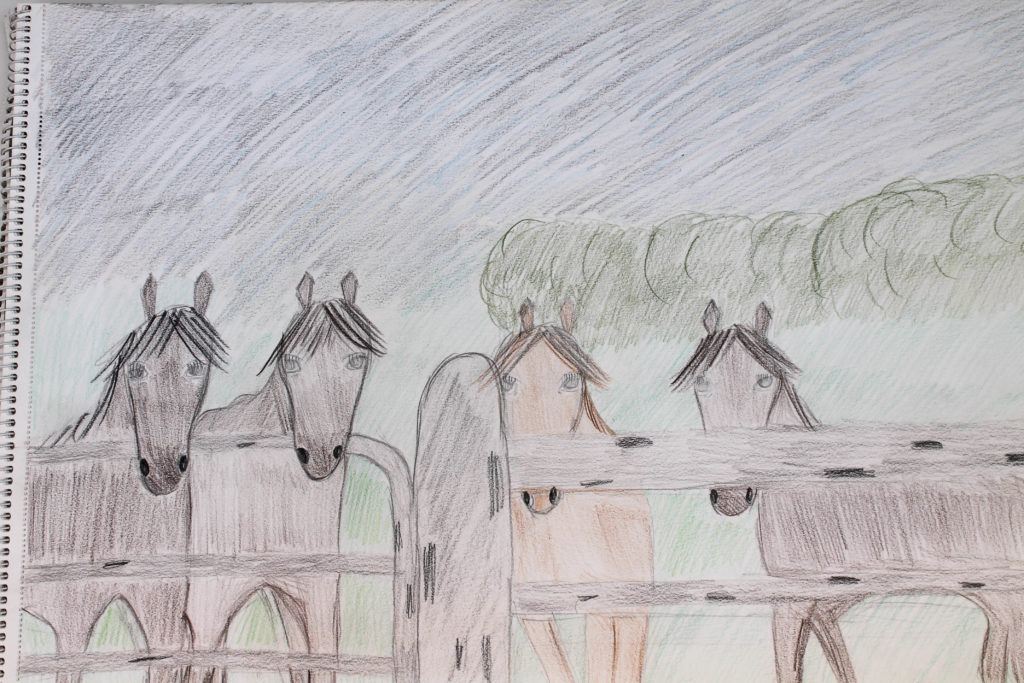
Now shade in the background; the trees, grass and sky. Don’t worry too much about accuracy here- the great thing with watercolour is that the different aspects of the picture blend together. Use the shades of green for the trees and grass and the blue and grey for the sky.
 Step 6:
Fill a small bottle or cup with tap water and dip in a thin paintbrush. Make sure its not too wet- if it is dab it on the side of the cup before you start. Starting with the lightest areas of the background (the sky in this case), paint over the shading as you would with regular paints. After the sky is done, move on to the trees and grass. Then the fence posts, and finally the horses since they are the darkest area. Alternatively you can change the water regularly if it becomes too contaminated.
Leave the picture to dry. If you are unhappy with how any parts of it turned out, you can colour over what is already there, reapply water with the paintbrush and try again!
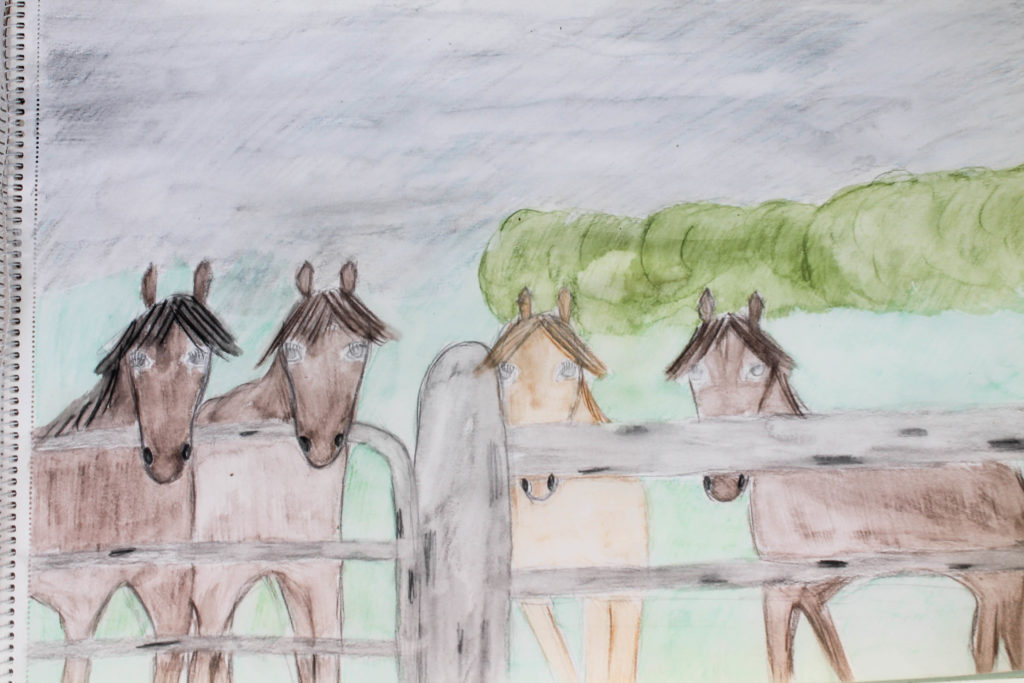 Step 7:
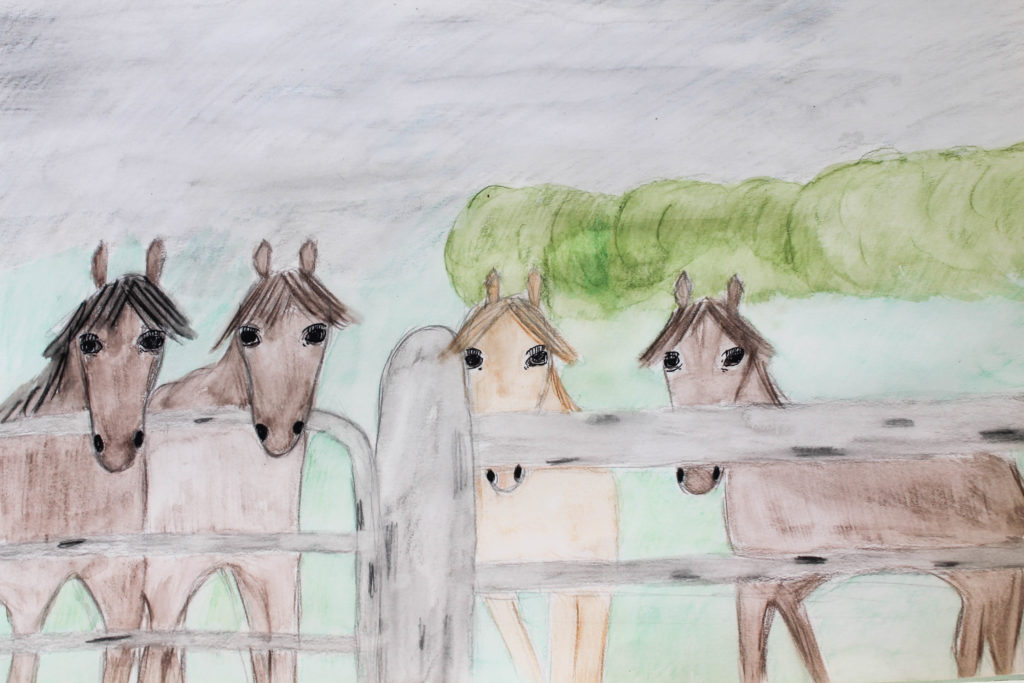
Once your picture is completely dry and you are happy with the colours, use a black brush pen to go over the detail of the eyes.
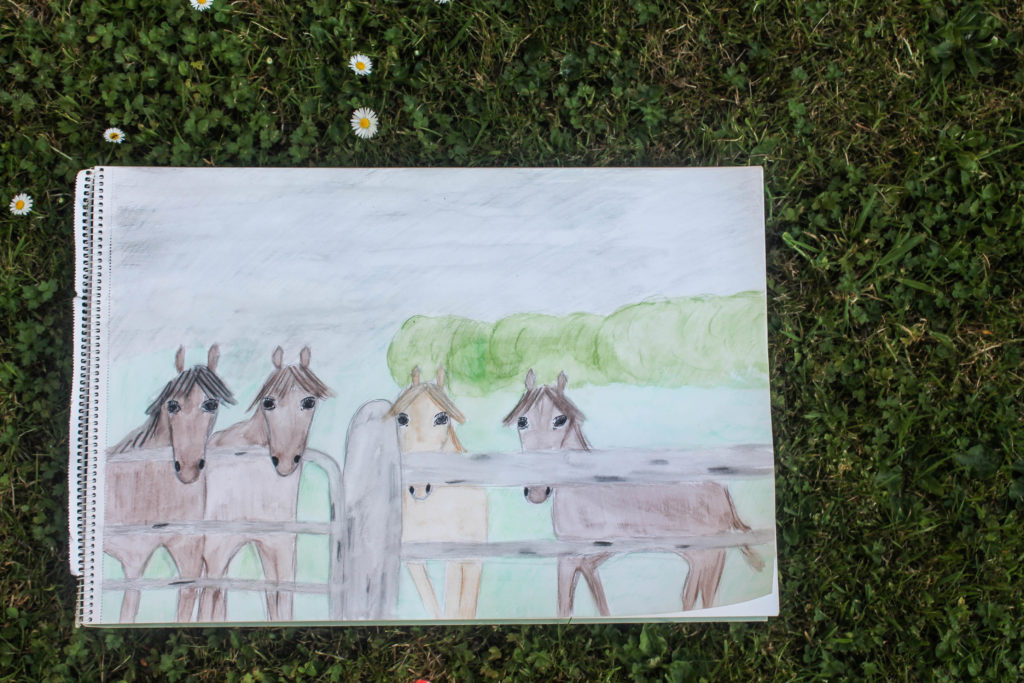
And thats your watercolour sketch complete! Even if horses aren’t your thing, I hope you’ll give this little project a go with a different subject.
 If you happen to be looking around the site, you may notice that (almost all) the old posts have been updated. When I read one of my posts I want to be taken back to that place; to feel like I’m there again. I felt that my older posts were too brief and didn’t do that, so I’ve made some changes. Let me know what you think if you read any.
Have a great week xx
All sketch photos and sketches my own


HI, Loved the photos and the process of getting the watercolour! Nicely written and easy to follow.
thank you, glad you liked it 🙂
Hi, You have captured a perfect replica of the photo taken by Maya using the technique and the effect came alive. Another good mastered piece.
and thank you for taking the photo!
wow, nicely done, the sketch turned out very good! i am saving all the tips for when i can start sketching again.
thank you 🙂 hope you start soon!
lovely picture 🙂 you should teach me this summer, looks like something nice to do xx
sure 🙂 sounds like fun